 |
| Used calendar stand |
 |
| Insert string into the holes |
I used nylon string to bind the calendar into a book (you can also use other materials such as ribbons, twine etc..but please ensure it is strong enough to hold the thick pages). The processed was easy only during inserting the string into the holes it's a little bit hassled and time consuming. Once done, you can start decorating the pages.
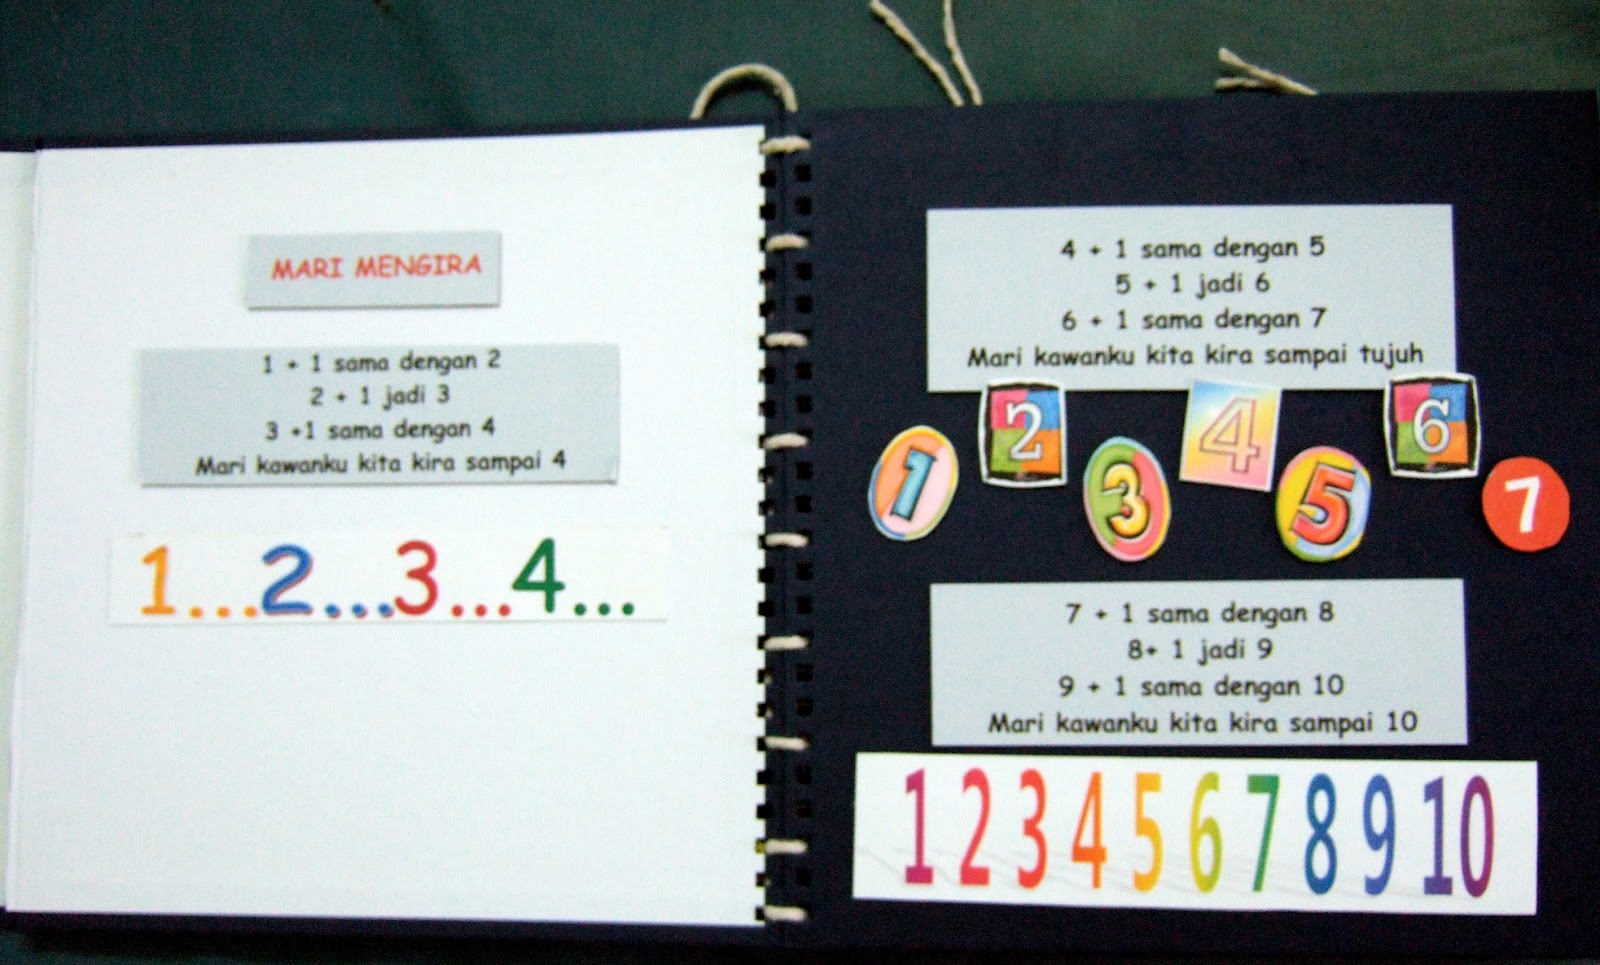
We have compiled 14 children's songs (8 songs in Bahasa Malaysia & 6 English songs). Song selections can be seen in the pictures. Each page is decorated with colourful pictures. Indirectly this is another way to encourage children to read and love books. It is essential to develop reading interest in an early age & as early as possible. To gain a bountiful & prosperous harvests it must starts from a good & healthy seeds.
The images & pictures were downloaded from the internet. If you have plenty of time you may design your own artwork.
In this case, we were given less than 2 weeks to complete & other assignments(another excuses (*-*)).... Well it's a reasonable excuse anywhere (^p^); We juggle our time with work, study and some of them with family & children.
Below are our final work (unfortunately we're unable to get it back as the college is keeping it for reference)


'One, Two buckle my shoe' is one of my childhood favourite rhyme. I made it slightly different. Instead of writing words and sentences I created a related images. A child will see a number and an image for example buckling a shoe. I made a pocket on top where I can slip the word card. As you can see in the first picture, it only shows the title of the rhyme. As you read through, you can pull the card slowly based on the picture. Finally the whole card appears (Or maybe you can create 'Find an object' game; example: Can you find a door/stick/hen/shoe etc..?)
If you do not want the word card goes missing you can make an alternative by making a hole and tie a string between the word card & the picture card.


For the 'Five Little Cookies' I added number of cookies right after the symbol. As the number decreased the cookies decrease too until there is no more cookie. At the bottom of the page, I printed out cookies with different shapes & colours. Cut then added a magnet behind before sticking the images onto the main page. The second step, I printed another smaller images of cookies then laminate each picture. You can use the smaller pieces for matching activity for your child. It can be used to learn shapes and colours too.
Before laminating, I pasted the magnet on each of the picture then cover it with paper because I do not want to reveal the magnet. In case you do not have laminating tools, you may use the wide cellophane tape to cover it. The purpose to cover or laminating the cards is to protect it, easy to clean and can be used many times. In this project it is better to use the magnet sheet.


~Imaginations is creativity.~There're no limitations in life until you stop doing so.~Some people may belittle you with what you're doing; Don't worry one day they will acknowledge & by then you've forgotten about them.~
We have compiled 14 children's songs (8 songs in Bahasa Malaysia & 6 English songs). Song selections can be seen in the pictures. Each page is decorated with colourful pictures. Indirectly this is another way to encourage children to read and love books. It is essential to develop reading interest in an early age & as early as possible. To gain a bountiful & prosperous harvests it must starts from a good & healthy seeds.
The images & pictures were downloaded from the internet. If you have plenty of time you may design your own artwork.
In this case, we were given less than 2 weeks to complete & other assignments(another excuses (*-*)).... Well it's a reasonable excuse anywhere (^p^); We juggle our time with work, study and some of them with family & children.
Below are our final work (unfortunately we're unable to get it back as the college is keeping it for reference)


---------------------------------------------------------


There were few songs & rhymes where I decorated in an interactive way. The 'Ten Little Leaves' song. I added pockets where the images of the leaves were hidden except for number 10 (You can also cover the last number & ask your child to predict the answer then take off the cover; It would be an exciting experience for your child). Each leaf is numbered with different colours. As you pull the card you can see the numbers. It is another method to introduce numbers to a child.
-----------------------------------------------------------------------


The 'Five Little Squirrels' rhyme; I added the squirrels pictures. As you read paragraph by paragraph you can pull out each squirrel until it's gone. I suggest every time you finish reading each paragraph ask your child to count how many squirrel left? Then continue. This is another way to introduce your child the basic arithmetic.
I used double sided Velcro tape as it can be easily pulled and pasted. The squirrel images were laminated in order to secure them & can be used for a longer period.
---------------------------------------------------------------


'One, Two buckle my shoe' is one of my childhood favourite rhyme. I made it slightly different. Instead of writing words and sentences I created a related images. A child will see a number and an image for example buckling a shoe. I made a pocket on top where I can slip the word card. As you can see in the first picture, it only shows the title of the rhyme. As you read through, you can pull the card slowly based on the picture. Finally the whole card appears (Or maybe you can create 'Find an object' game; example: Can you find a door/stick/hen/shoe etc..?)
If you do not want the word card goes missing you can make an alternative by making a hole and tie a string between the word card & the picture card.
----------------------------------------------------


For the 'Five Little Cookies' I added number of cookies right after the symbol. As the number decreased the cookies decrease too until there is no more cookie. At the bottom of the page, I printed out cookies with different shapes & colours. Cut then added a magnet behind before sticking the images onto the main page. The second step, I printed another smaller images of cookies then laminate each picture. You can use the smaller pieces for matching activity for your child. It can be used to learn shapes and colours too.
Before laminating, I pasted the magnet on each of the picture then cover it with paper because I do not want to reveal the magnet. In case you do not have laminating tools, you may use the wide cellophane tape to cover it. The purpose to cover or laminating the cards is to protect it, easy to clean and can be used many times. In this project it is better to use the magnet sheet.


Happy weekend & I do hope you enjoy this.
-----------------------------------------------------------------------
~Imaginations is creativity.~There're no limitations in life until you stop doing so.~Some people may belittle you with what you're doing; Don't worry one day they will acknowledge & by then you've forgotten about them.~
Oh this is amazing...love how you made the book
ReplyDeleteCheers from Bangalore, India
Sonia
cardsandschoolprojects.blogspot.com
Thanks for the compliment Dr Sonia; love your works too.
ReplyDeleteWhat a fabulous Idea! I love it! :D
ReplyDeleteThank you Vashti! :)
Delete